A guide to optimizing GTA VI on XBOX Series X|S
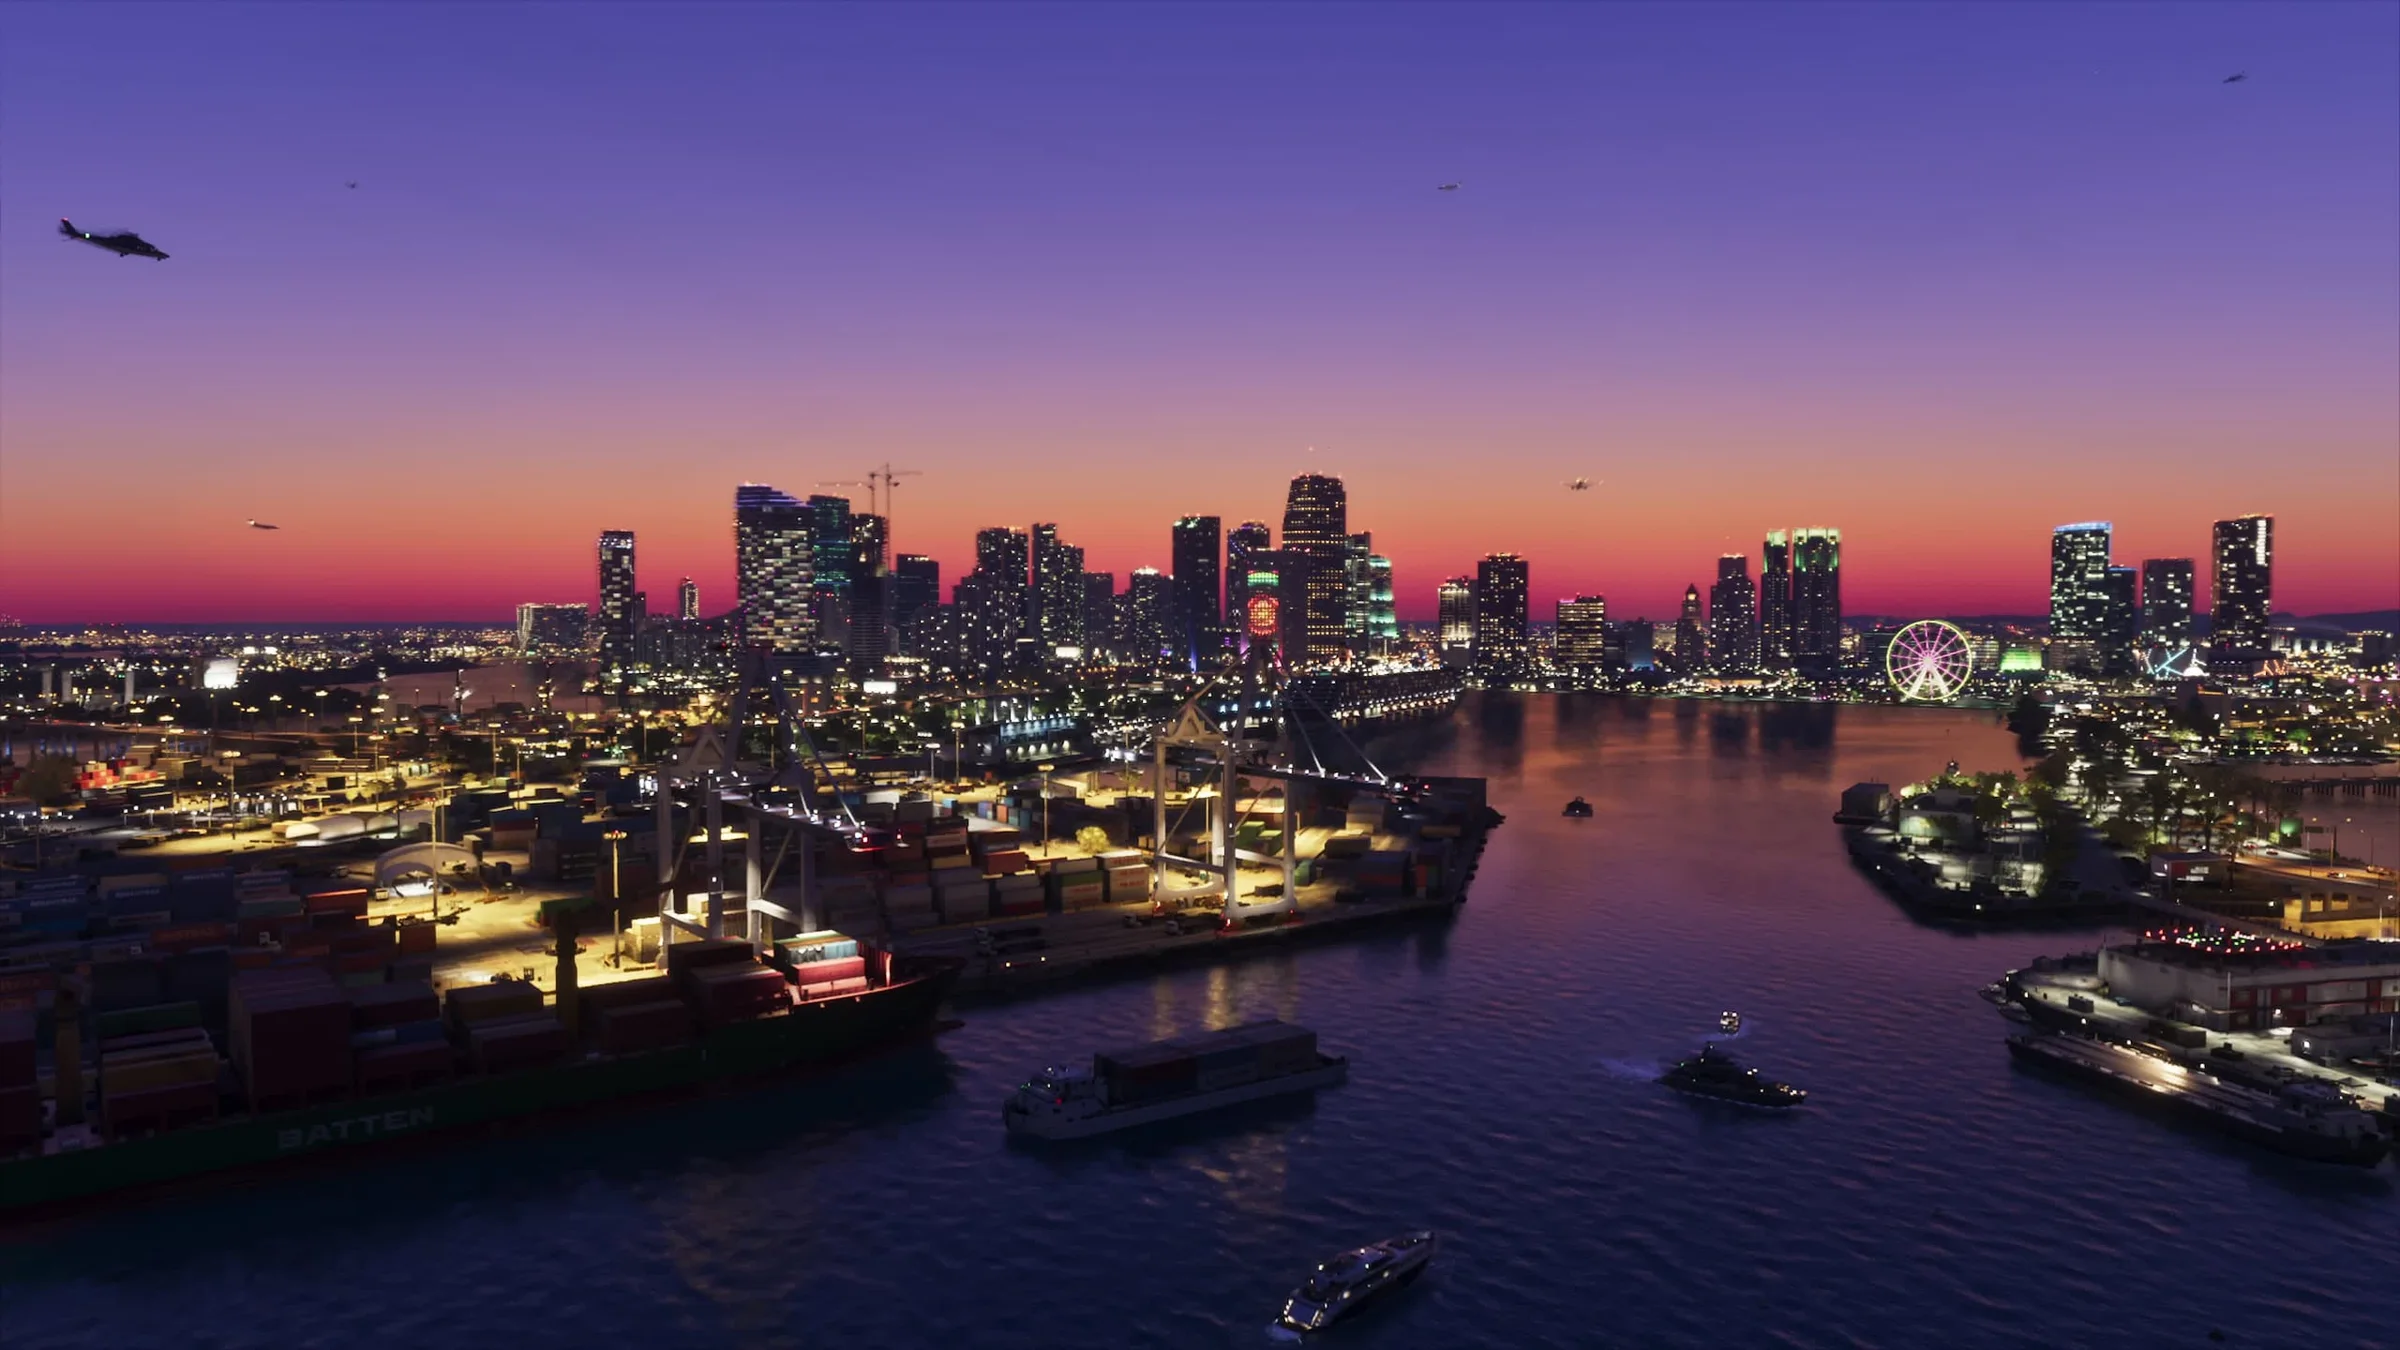
Rockstar doesn’t build game worlds so much as it builds places. Every new Grand Theft Auto is more detailed and more alive than the last, and GTA VI is the most ambitious one yet. Rockstar calls it Vice City, USA: “the darkest side of the sunniest place in America,” set across the state of Leonida, home to “the neon-soaked streets of Vice City and beyond.” Look through the official launch gallery and you’ll see what that means. There’s sunlight bouncing off the water at the marina and neon buzzing over a gas station at dusk. Underwater in the Keys, light filters down through the reef.
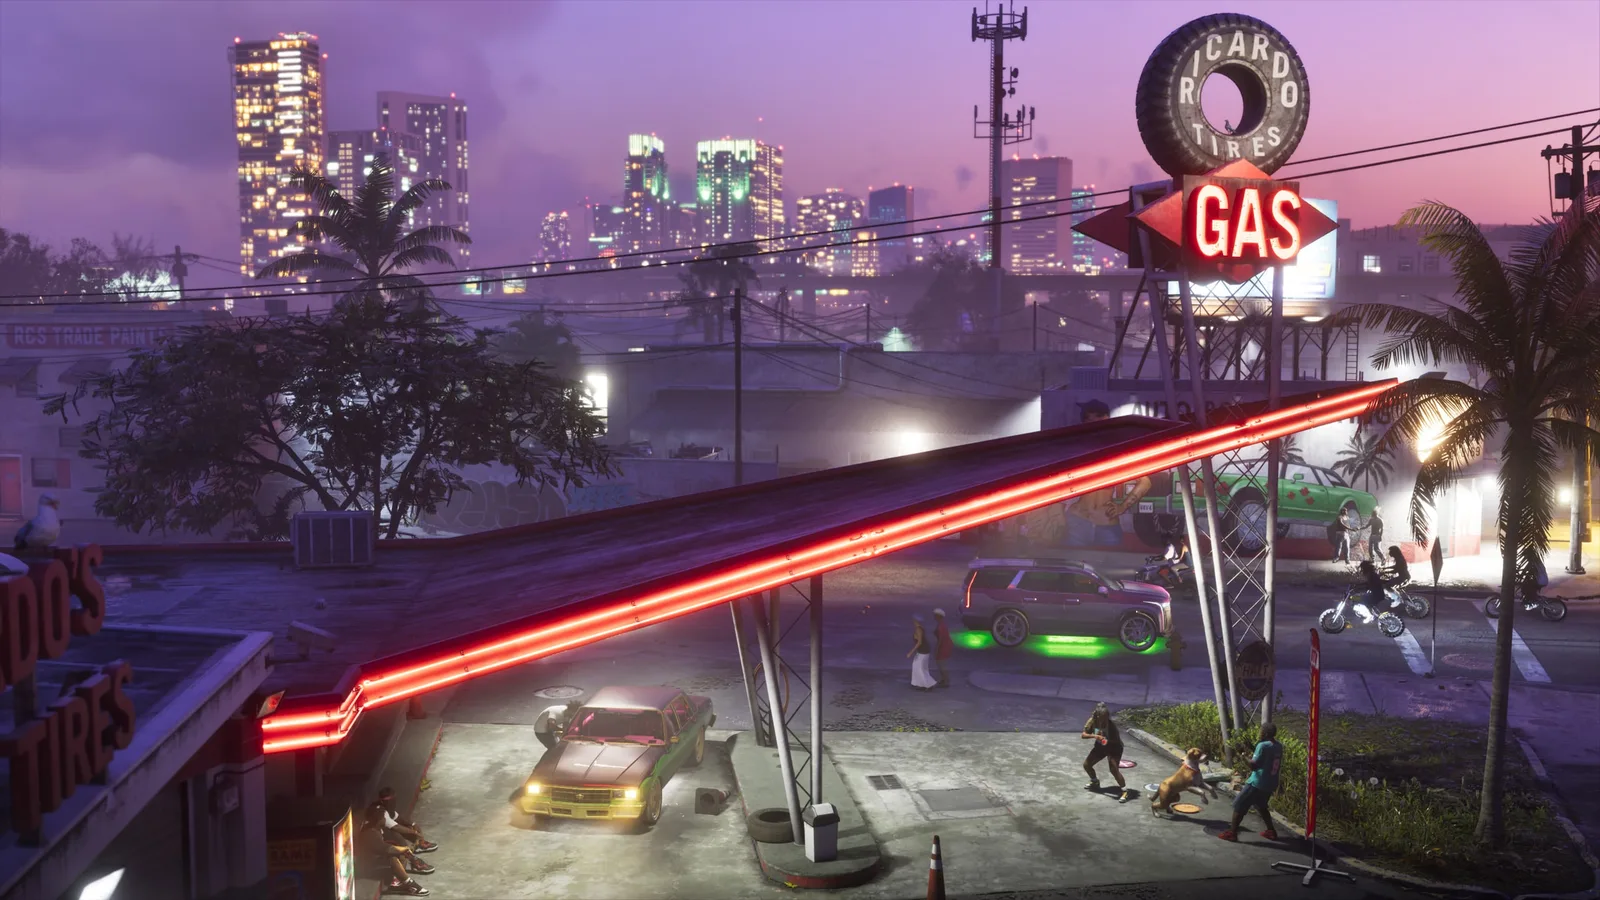 Vice City at dusk.
A world like that deserves a screen that’s set up to show it. This post is about getting GTA VI to look as good as it possibly can on your setup, whatever TV you have. And because a great picture is only half of it, of course this audio nerd will cover your sound too.
Why I’m writing this
For most of my years at XBOX, my favorite part of the job happened away from the stage. It was getting under the hood. How did a studio get sunlight to bounce off the water like that? And what did the console have to do to get all of that from the developer’s screen to yours without losing anything along the way? I was lucky. I could ask the people who made the games, and the platform engineers who built the features those games relied on.
The other half was passing it along. A big game would launch, a lot of you would be sitting down with a new TV or a new console, and the same questions would roll in. Why does HDR look washed out? Which setting do I change? I loved being able to answer in plain English and help you see every bit of what a studio put on the screen. Back in 2017 I even wrote about spatial sound on XBOX Wire.
I’m not at XBOX anymore, but that curiosity never went away. And GTA VI is out today, so this is my launch day post.
A note for my PlayStation 5 friends: pull up a chair, you’re welcome here. Many of these same tips will work on your PlayStation 5 too, especially the TV settings and the game’s own HDR controls. But I was part of the XBOX platform team, so I know XBOX inside and out, and I can’t give you the same level of guidance for PlayStation. For the console’s own menus, Sony has a page on how to enable HDR on a PS5 console.
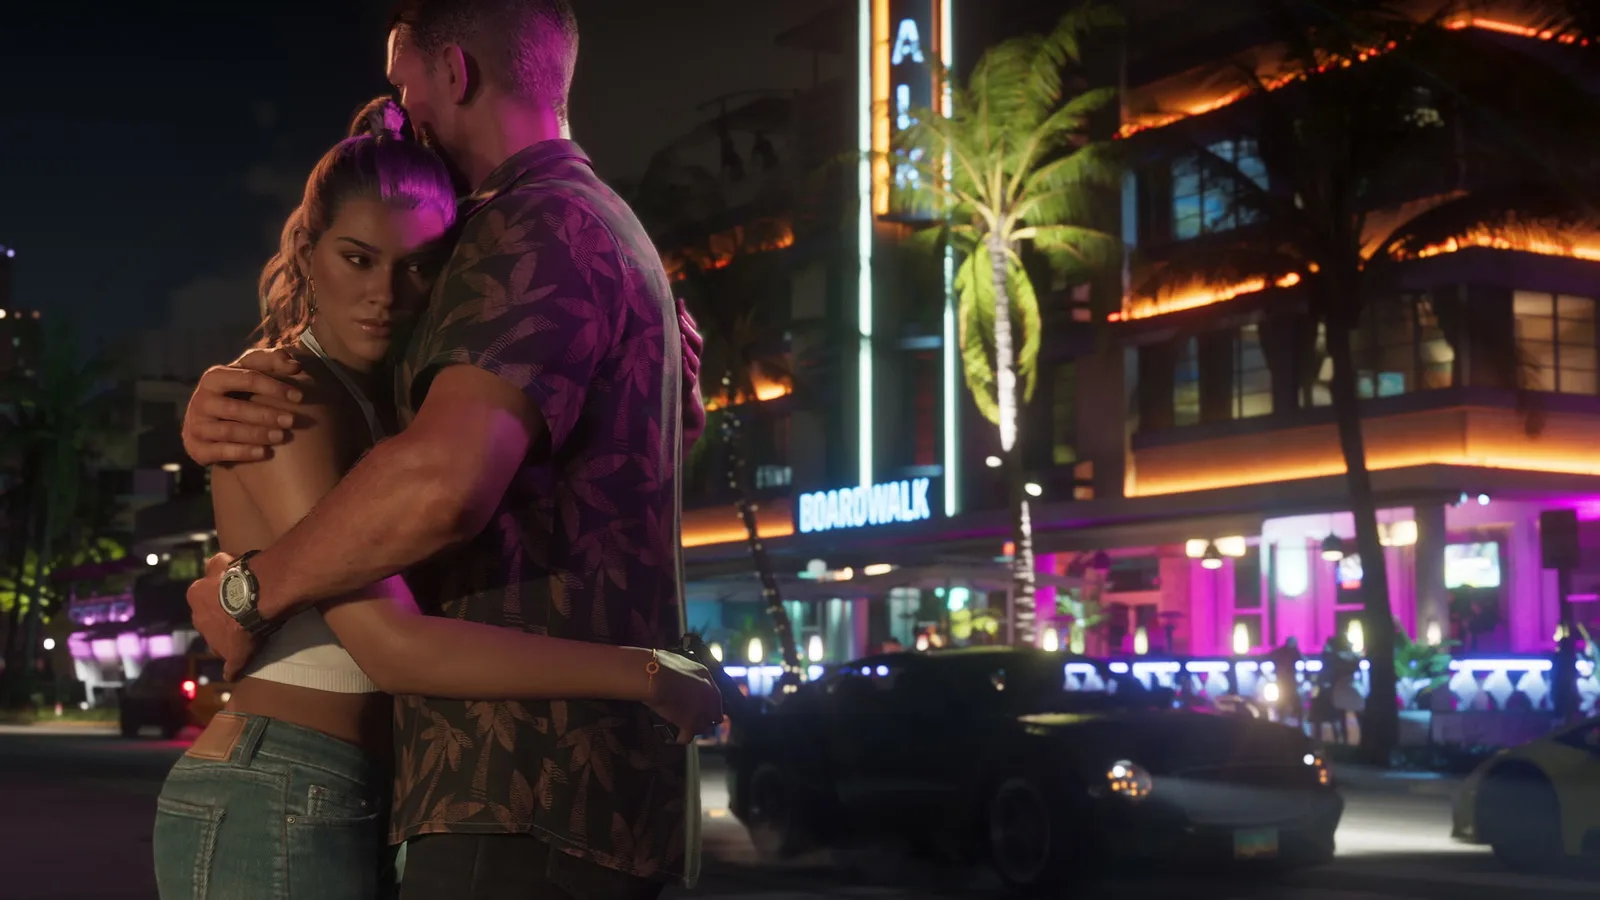 Jason and Lucia in Vice City.
Maybe you’ve done this before
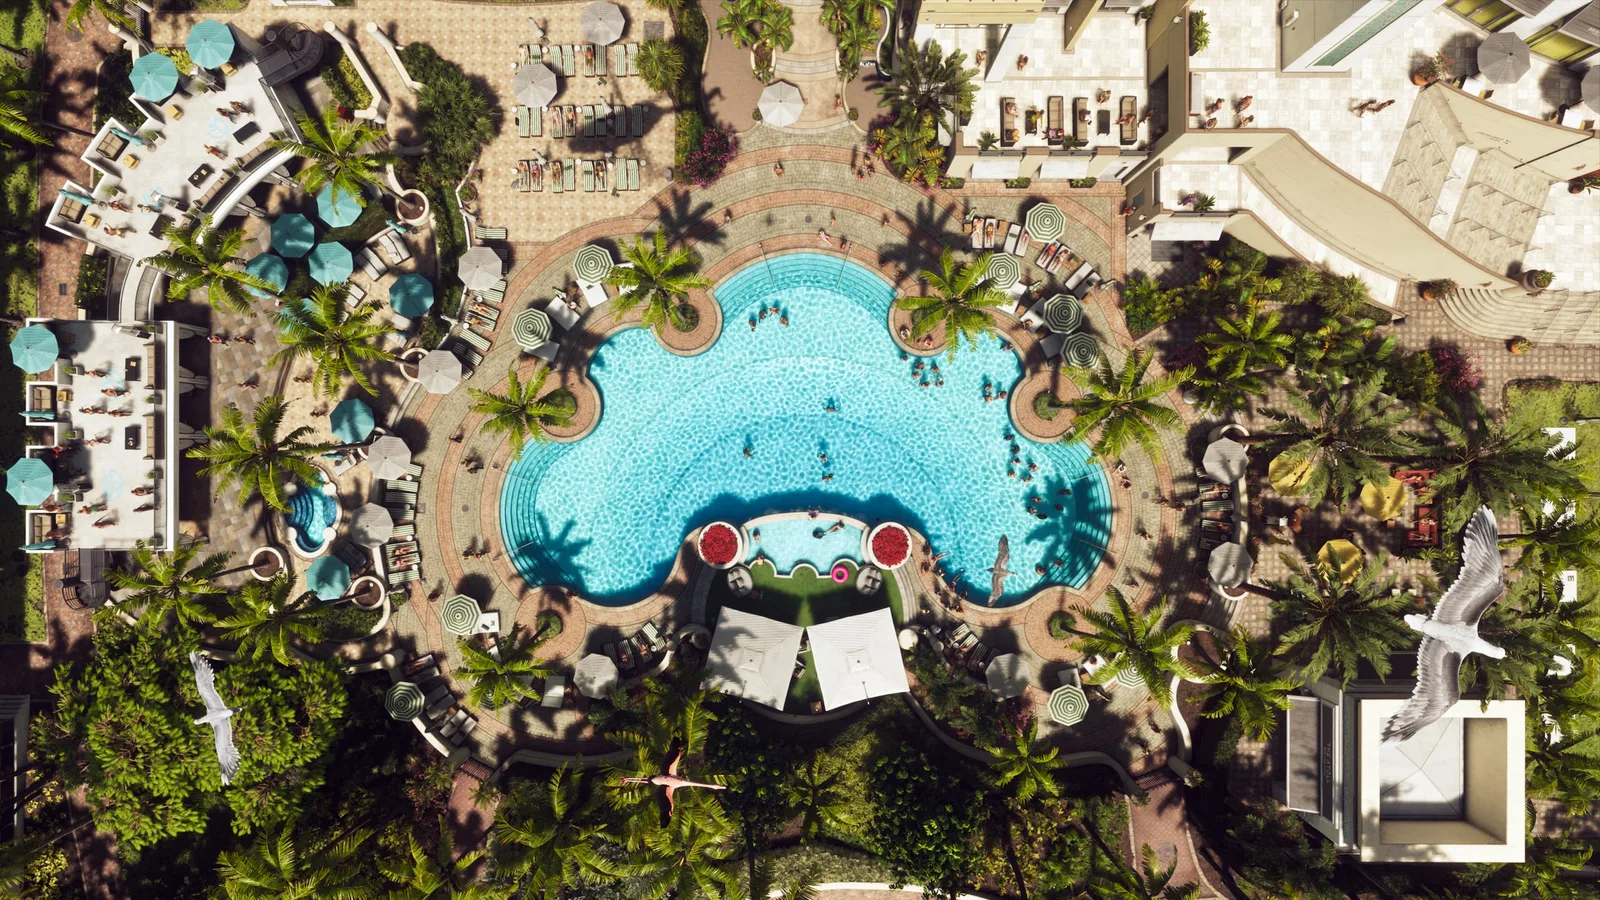 Bright, saturated daylight is where a good setup really shows.
You might have calibrated your TV the day you bought it. It’s still worth doing again. TV makers keep updating their software, and those updates can change picture modes or add new gaming settings. XBOX has added features since launch too. If you’ve moved the console to a different HDMI port or added a soundbar, your old settings may not match anymore. It takes about fifteen minutes, and GTA VI is a good excuse.
The TikTok version
Sixty seconds. No intro. Nobody is going to ask you to like and subscribe.
Short on time? Do these in order:
- Use the HDMI cable that came with your XBOX, plugged into your TV’s best HDMI port.
- Update your TV’s software.
- Put the TV in its Game mode and turn on its HDR gaming setting (HGIG, where your TV has it).
- On the XBOX, check 4K TV details, then run Calibrate HDR for games.
- In GTA VI, adjust the HDR settings using the game’s on-screen instructions.
- Set up your sound: run the XBOX audio setup and turn on spatial sound for your headset or speakers.
Here’s the why and the how for each one.
Start with the cable
This is the step some people skip, and it can cause more problems than anything else on this list.
XBOX Series X ships with an Ultra High Speed HDMI cable. That’s the cable XBOX designed the console around, and it’s the one you should use. XBOX Support’s 4K and HDR troubleshooting page is clear about it: use the HDMI cable that came with your XBOX. A quick note for Series S owners: Series S doesn’t play games at native 4K, so the 4K and 120Hz details in this guide are about Series X. When Series X|S launched, XBOX Wire’s TV setup post recommended Ultra High Speed cables for Series X, and High Speed or Premium cables for Series S.
If you buy a cable, look for the official Ultra High Speed HDMI certification label on the box. That old cable that came with your cable box may look the same, but it can’t always carry everything the console sends.
Not just any port in a storm. Next, check which HDMI port you’re using. Many TVs only have one or two HDMI ports with full support for 4K at 120Hz and variable refresh rate. They’re usually labeled on the back of the TV or in the manual. XBOX Support points out that some TVs only support their full set of 4K features on certain ports.
Update your TV (yes, really)
This one is easy to forget, and it matters more than people think. A lot of TVs got their best gaming features, like HGIG and variable refresh rate, through software updates after they shipped. XBOX Wire’s Dolby Vision gaming announcement put it simply: make sure your XBOX and your TV are both running the latest firmware.
Check for an update before you calibrate. Here’s where each manufacturer explains how:
- LG: How to update your LG TV software and turn on automatic updates
- Samsung: Update the software on your Samsung smart TV
- Sony: Sony Electronics Support (search for your TV model, then look for software updates)
- TCL: How to check for software updates on your TCL TV
- Hisense: Hisense firmware downloads and updates
I know many of the more tech-forward among you have taken your TV offline to stop the onslaught of ads on newer TVs. Reconnect it just long enough to grab the latest firmware, then you can disconnect it again. If your TV stays online, turn on automatic updates if it offers them. If you use a soundbar or AV receiver, check its manufacturer’s site for updates too. XBOX Support’s audio troubleshooting page also points to keeping your devices’ firmware up to date.
What HDR calibration actually does
Brightness on a TV is measured in nits. A typical SDR picture tops out around 100 nits. HDR games can ask for highlights far brighter than that, for things like the sun or a neon sign at night.
Every TV has its own limits. Some get very bright, and some get very dark. Something has to fit the game’s huge range into what your particular screen can show. That process is called tone mapping.
This is the part I’ve always found fascinating. The artists at a studio like Rockstar decide exactly how bright a neon sign should glow and how deep a shadow should fall. Your TV can only show those choices faithfully if it knows its own limits and the game knows them too.
The trick is to have it happen once, in the right place, with accurate information about your TV. If the game adjusts the picture for your screen, and then your TV adjusts it again, highlights get dimmed twice and the image looks flat. Calibration fixes that. It tells the console the real brightest white and darkest black your TV can show, so games can map their picture to your screen correctly.
That’s the idea behind HGIG, the HDR Gaming Interest Group, an industry group that Microsoft is part of along with TV makers. In HGIG mode, the TV steps back and lets the console and game handle tone mapping. That’s why we set up the TV first.
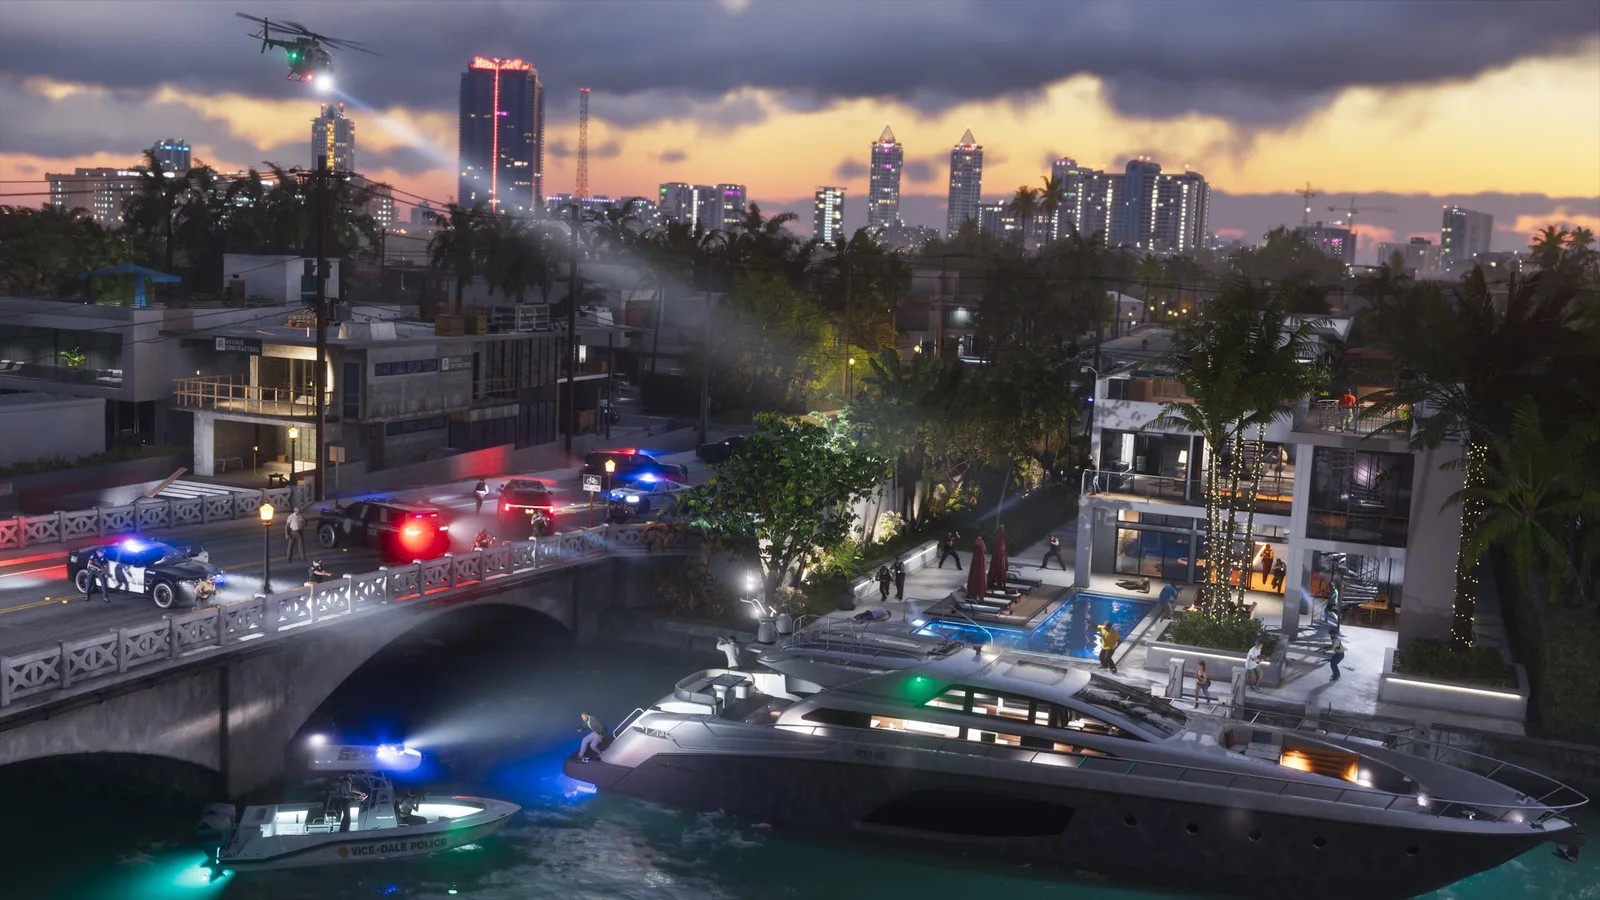 Twilight in Vice City is full of tiny bright lights against a dark sky, exactly what HDR is made for.
Set up your TV
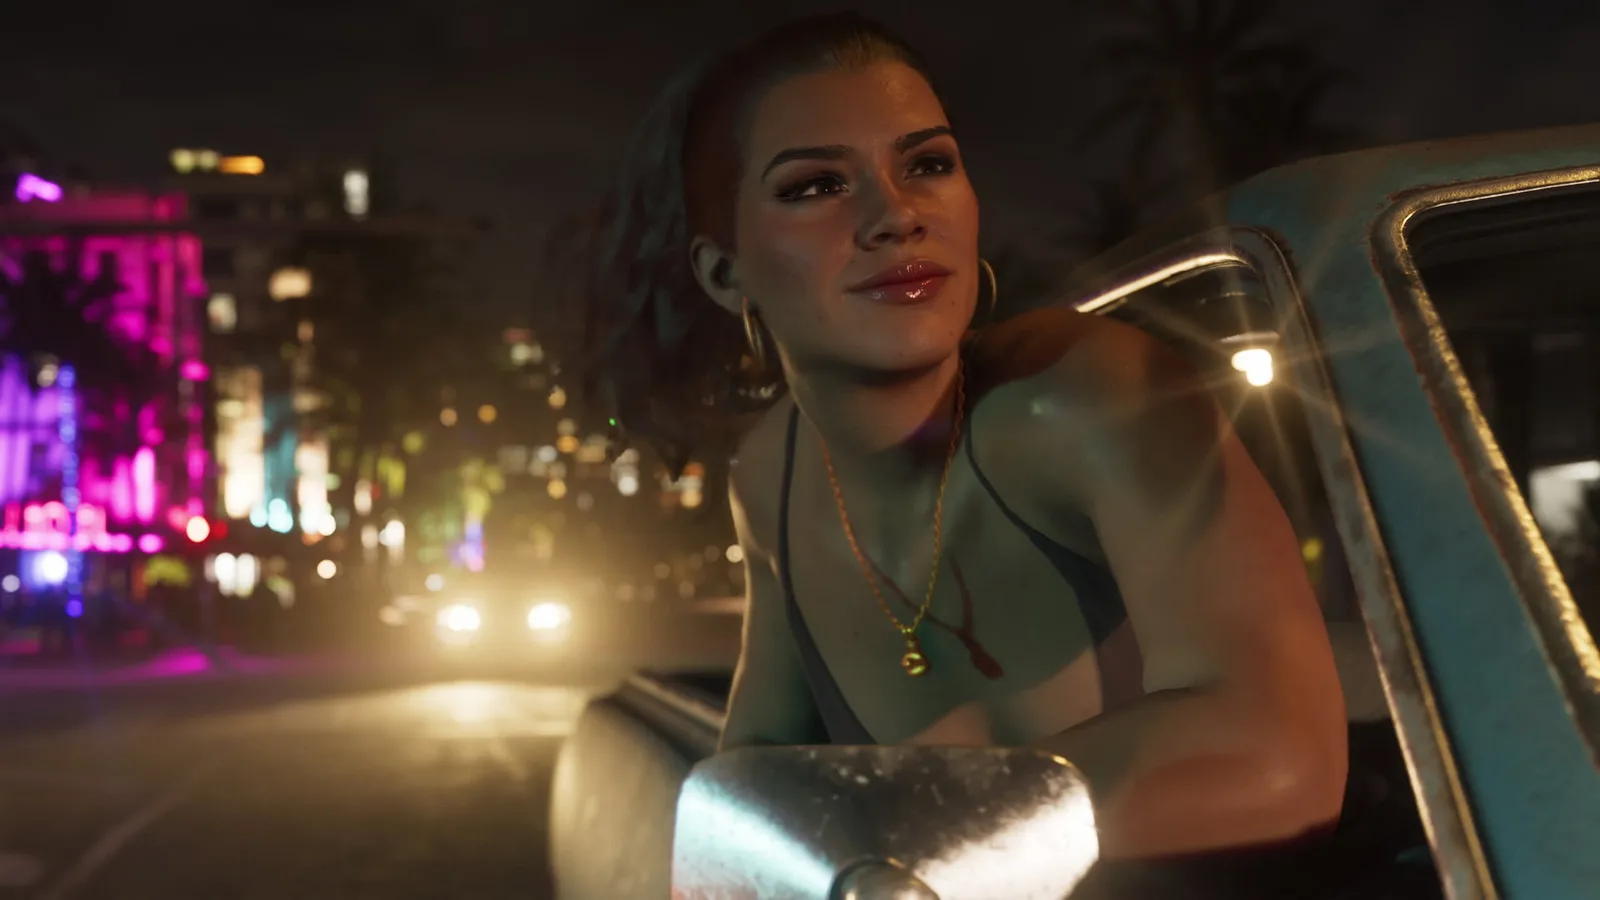 Headlights and neon against a dark street: small, bright highlights like these are where HDR shines.
Put the TV in Game mode. Most TVs switch automatically when your XBOX starts a game, thanks to a feature called Auto Low Latency Mode. Rockstar’s own HDR troubleshooting page suggests enabling your TV’s Game Mode preset if it has one and, once HDR is on, adjusting settings like brightness and contrast as needed.
Turn on the enhanced HDMI signal for your XBOX’s port. Every brand names this differently, and it’s often off by default. Check your TV’s manual or support site. If it’s off, you may not get HDR or 120Hz at all.
Turn on HGIG, if your TV has it. This is where your TV’s own tone mapping steps aside. On LG TVs, LG’s support page has the exact path: on 2021 and newer models, go to Settings → All Settings → General → Game Optimizer → Screen → Tone Mapping Compensation → HGIG. Other brands may call it something like “Game HDR” or put it under HDR tone mapping, and the location can change between software updates. Your TV’s manual or support site will have the current menu. If your TV has no HGIG option, look for any dynamic tone mapping setting and turn it off while you play.
Turn off picture “helpers.” In Game mode, switch off extra sharpening, dynamic contrast, any eco or energy-saving mode that dims the screen, and motion smoothing. They all fight the calibration.
Studios and console makers spend a lot of time making sure games look right across many different TVs. Every setting you get right here helps your TV meet them halfway.
Set up your XBOX
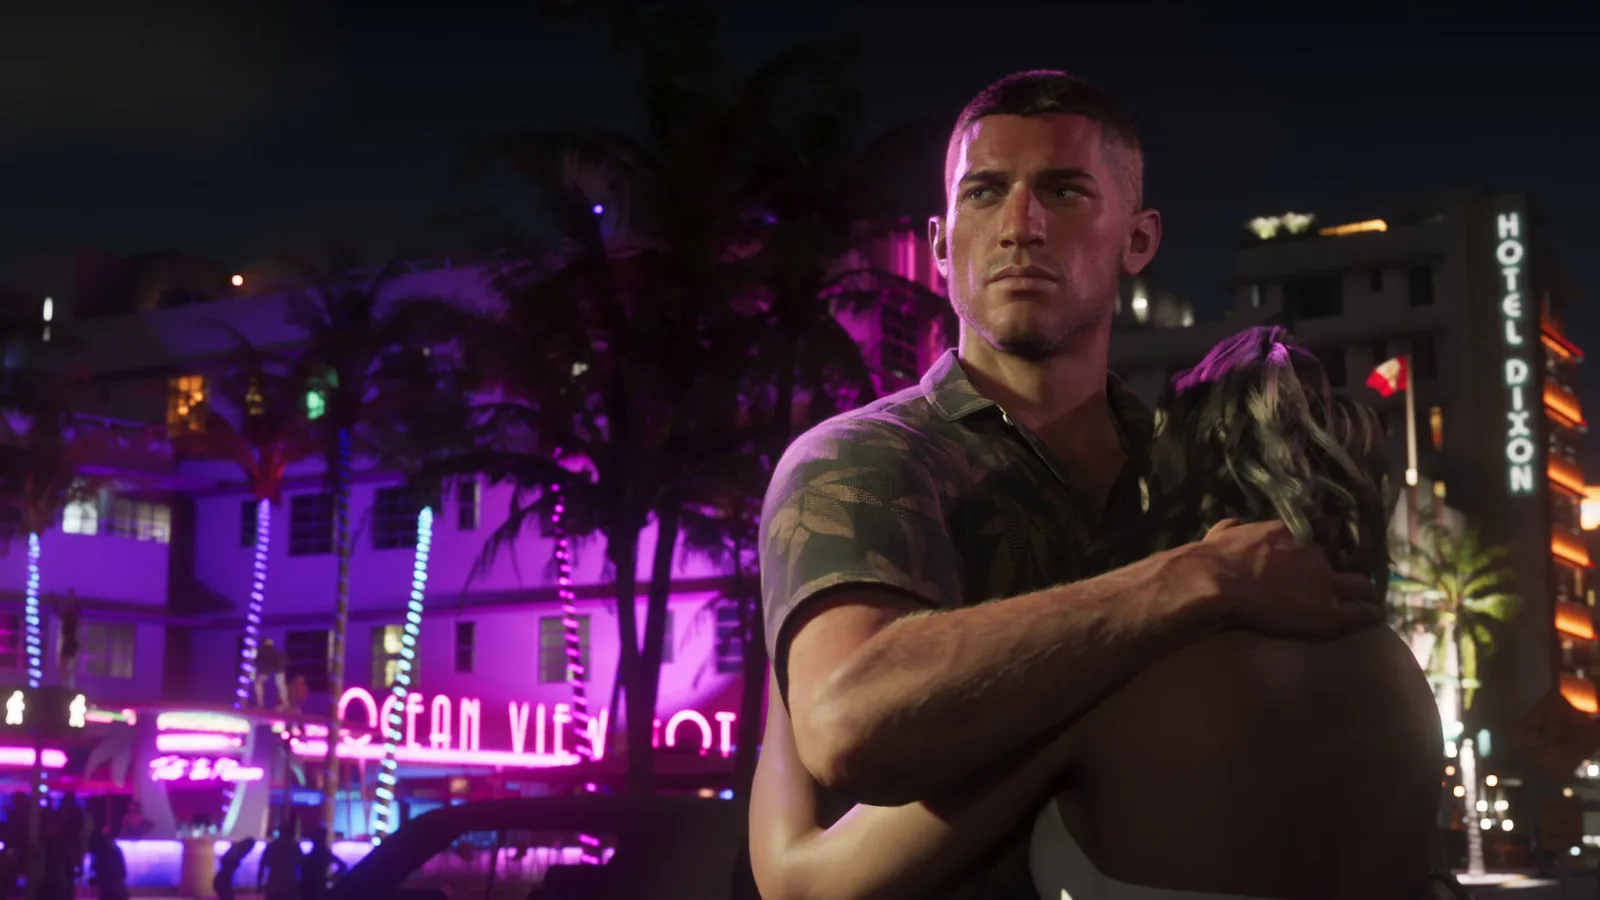 Deep color and bright neon in the same shot.
Press the XBOX button, then go to Profile & system → Settings → General → TV & display options. XBOX Support explains each setting on its page about how to change the TV display settings.
Check 4K TV details first. Under Setup, select 4K TV details. This shows what your XBOX thinks your TV can do. When Series X|S launched, the XBOX Wire TV setup post put it best: “You should see a series of green checkmarks across the board.” If you see red marks where you expect support, go back to the cable, the port and the TV’s enhanced HDMI setting.
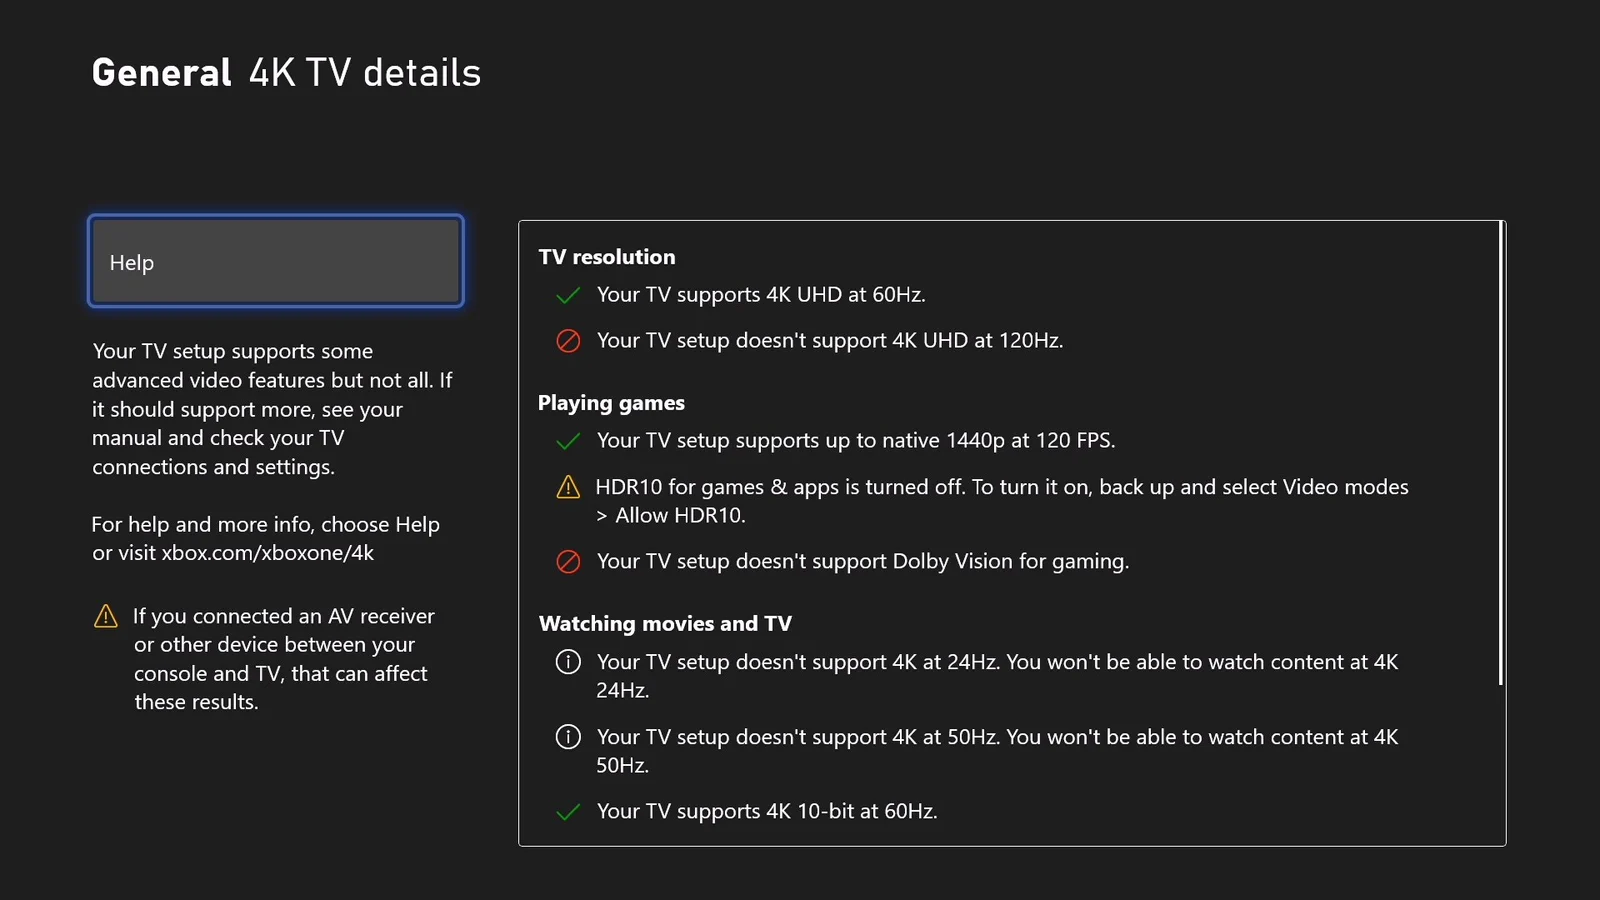 I took this on one of my older TVs. See those red marks? That setup couldn’t do 4K at 120Hz or Dolby Vision for gaming.
Video modes. Under Advanced, open Video modes and check these:
- Allow 4K – on.
- Allow HDR10 – on. This is the main HDR switch.
- Allow auto low-latency mode – on. This is what switches your TV into Game mode automatically. XBOX Support notes that low-latency mode turns off some TV processing, which can change how HDR looks. That’s expected, and it’s why you calibrate in Game mode.
- Allow variable refresh rate – on, if your TV supports it. XBOX Support notes that XBOX works with both HDMI-VRR and AMD FreeSync displays. If you connect through an AV receiver and see flicker, try turning it off or connecting straight to the TV.
- Allow Dolby Vision and Dolby Vision for Gaming – on, if your TV supports Dolby Vision. More on this below too.
- Allow YCC 4:2:2 (chroma subsampling) – leave this alone. XBOX Support says to change it only if you’re having HDMI video problems.
Color depth. Under Video fidelity & overscan, XBOX Support says you can pick a higher color depth if your TV supports Deep Color.
Color space. Leave it on Standard (Recommended). That’s straight from XBOX Support: it’s the right signal for TVs. Changing it is a common cause of crushed blacks.
Run “Calibrate HDR for games”
This is the XBOX’s built-in HDR calibration. You’ll find it in Settings → General → TV & display options → Calibrate HDR for games. The XBOX Wire TV setup post introduced it as a tool “that will allow you to calibrate your HDR settings for games.”
Before you start, make sure your TV is in Game mode with HGIG on, and that your room lighting is how you normally play. Then follow the on-screen steps. Each screen shows a pattern, and you adjust the slider until it just barely disappears or is just barely visible, depending on the step. Take your time. Small clicks make a difference.
What you’re doing is teaching your XBOX what your TV can really do, from its darkest black to its brightest highlight. Games that use the system calibration take advantage of it automatically.
If you change TVs or update your TV’s software, run it again. It only takes a couple of minutes.
A feature you can only get on XBOX Series X|S
This is where XBOX stands apart. Among consoles, Dolby Vision for gaming is only on XBOX Series X|S, and that includes Series S.
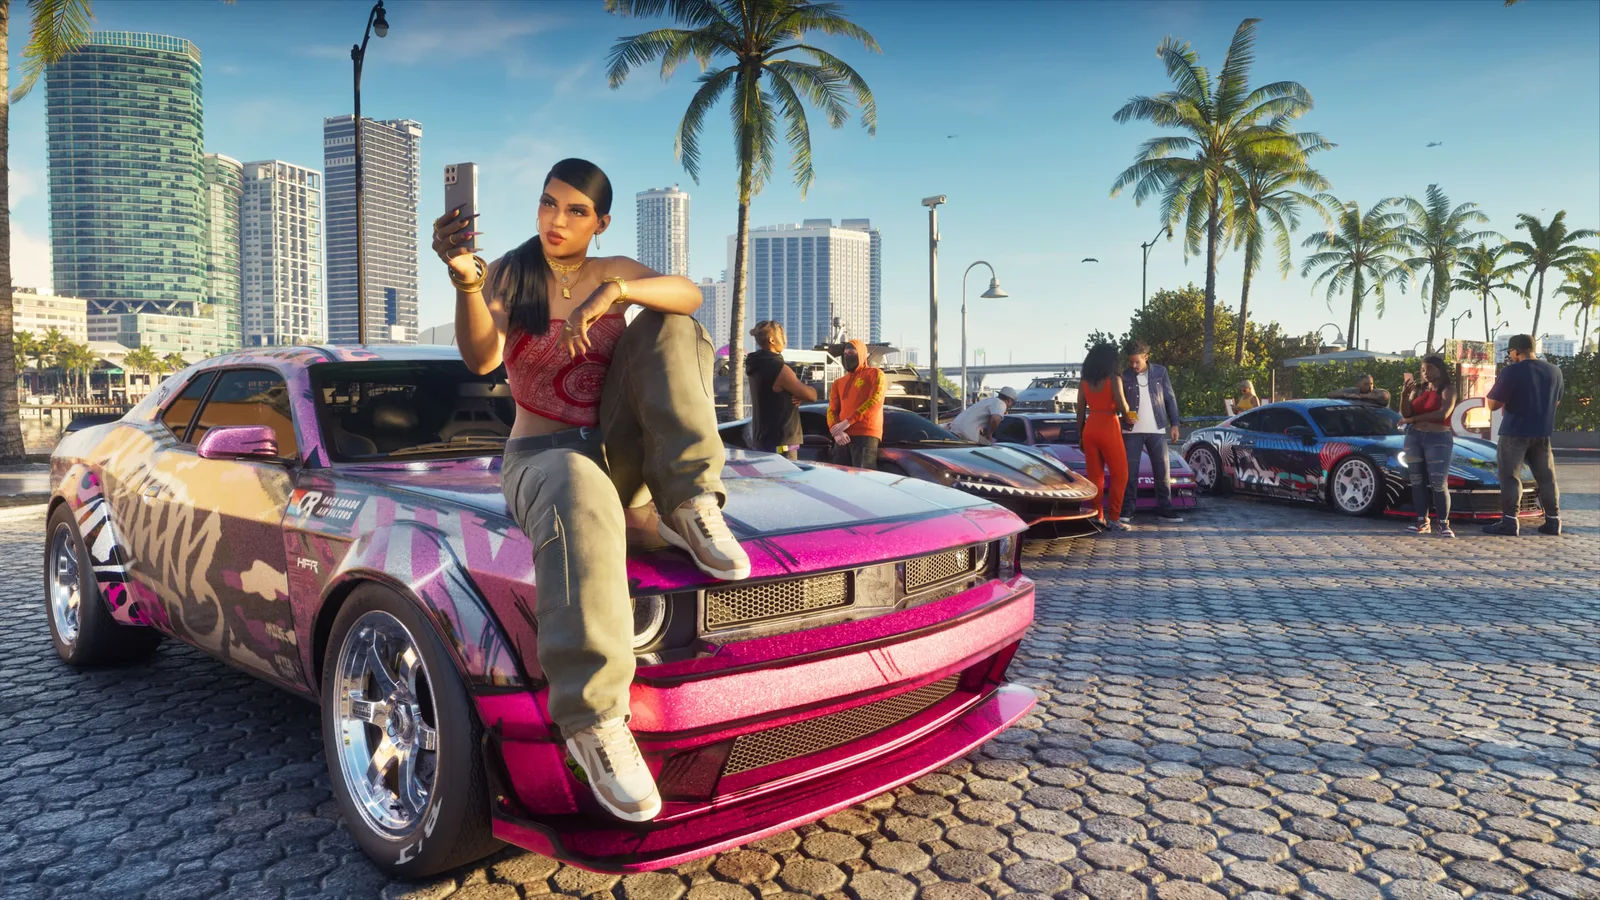 A Vice City car meet.
Dolby Vision for gaming. XBOX Series X|S were, in Dolby’s words, “the first consoles ever to enable gaming in both Dolby Vision and Dolby Atmos”. If your TV supports it, Dolby Vision uses information from the game to fine-tune the picture for your specific screen. And XBOX doesn’t save it for new games. According to the XBOX Wire announcement, “the consoles will automatically enhance your existing games,” including thousands of HDR10 and Auto HDR titles.
To use it, turn on Dolby Vision for Gaming in Video modes. XBOX Wire recommends turning on ALLM or VRR on your TV, and keeping both your TV and XBOX up to date. If your TV supports Dolby Vision, try a few scenes with it on and off and keep what looks best to you.
Making GTA VI look its best
Now for the fun part. Once your TV and XBOX are set up, GTA VI’s own settings are the last piece.
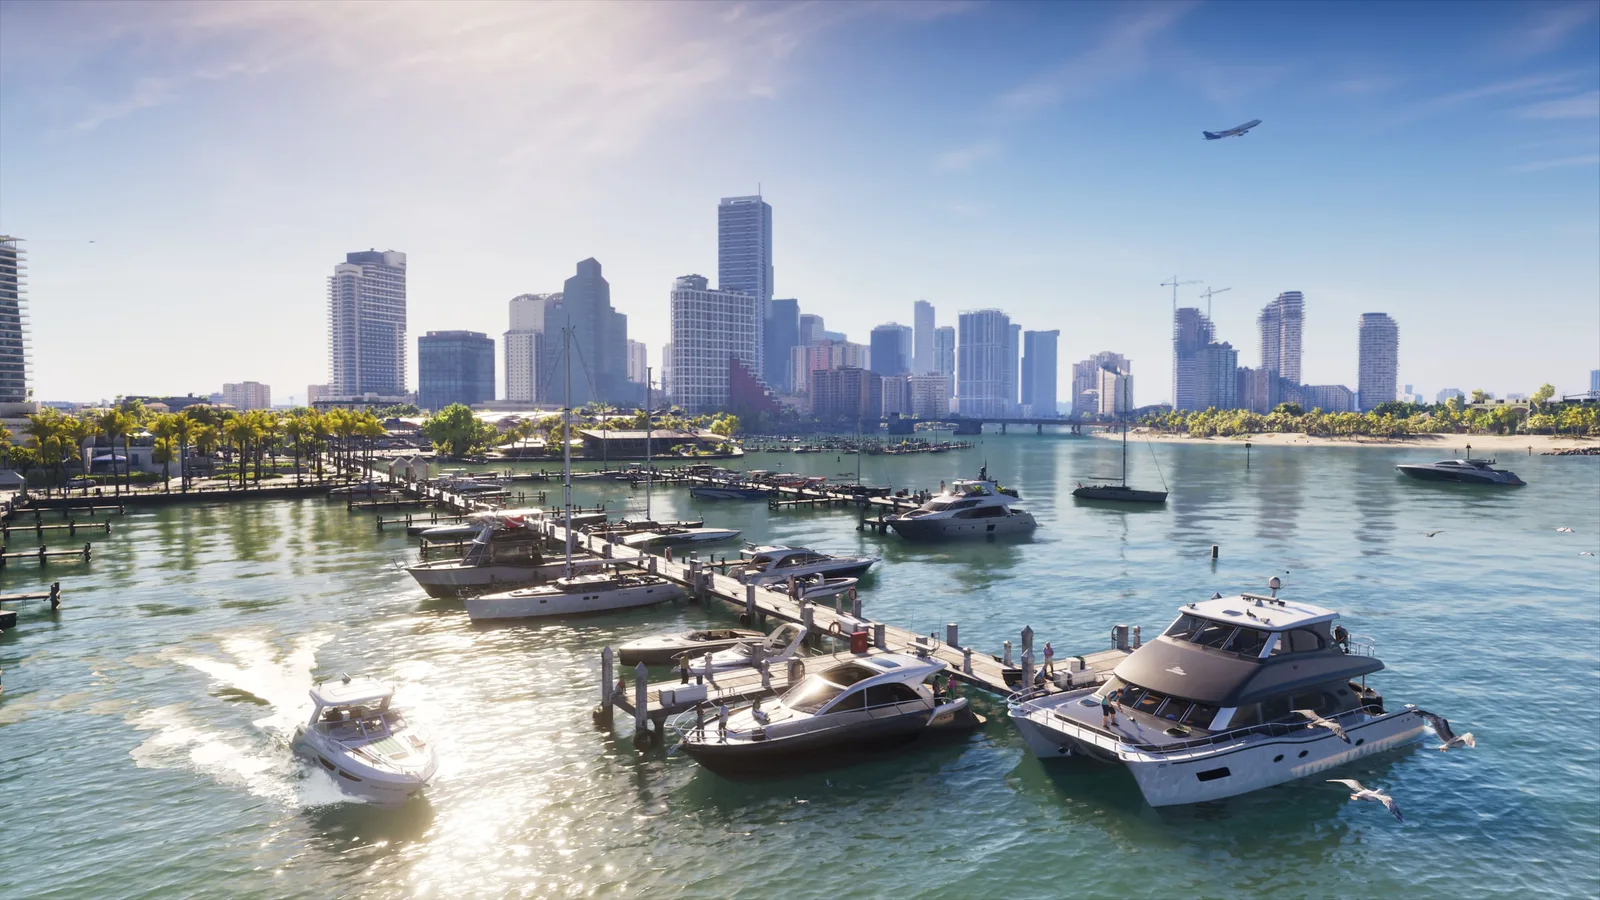 Bright Florida daylight is a great test for highlights.
Find the HDR settings. GTA VI has its own HDR controls in its display settings. They let you set how dark the darkest parts of the picture are, how bright the brightest highlights get, and how bright the overall scene looks. Follow the on-screen instructions for each one.
Do them in order. Start with the darkest point, then the brightest highlight, then the overall brightness. These settings work together, so after you change one, take a quick look back at the others.
Set it for your room. There’s no single right number for everyone. If you play in a dark room at night, you’ll probably want the overall brightness lower. A bright living room in the afternoon calls for more. Set it for how you actually play.
Test it out in the world. Don’t finish on a menu screen. Go explore Leonida and look at a few kinds of scenes:
- Vice City at night. Neon signs should glow with color, not turn into flat white blobs. Dark alleys should still show some detail.
- Bright daylight on the water. The sky should have color and the sun should look bright, without the whole scene looking washed out.
- Something dark and colorful. The water around the Leonida Keys is perfect for this.
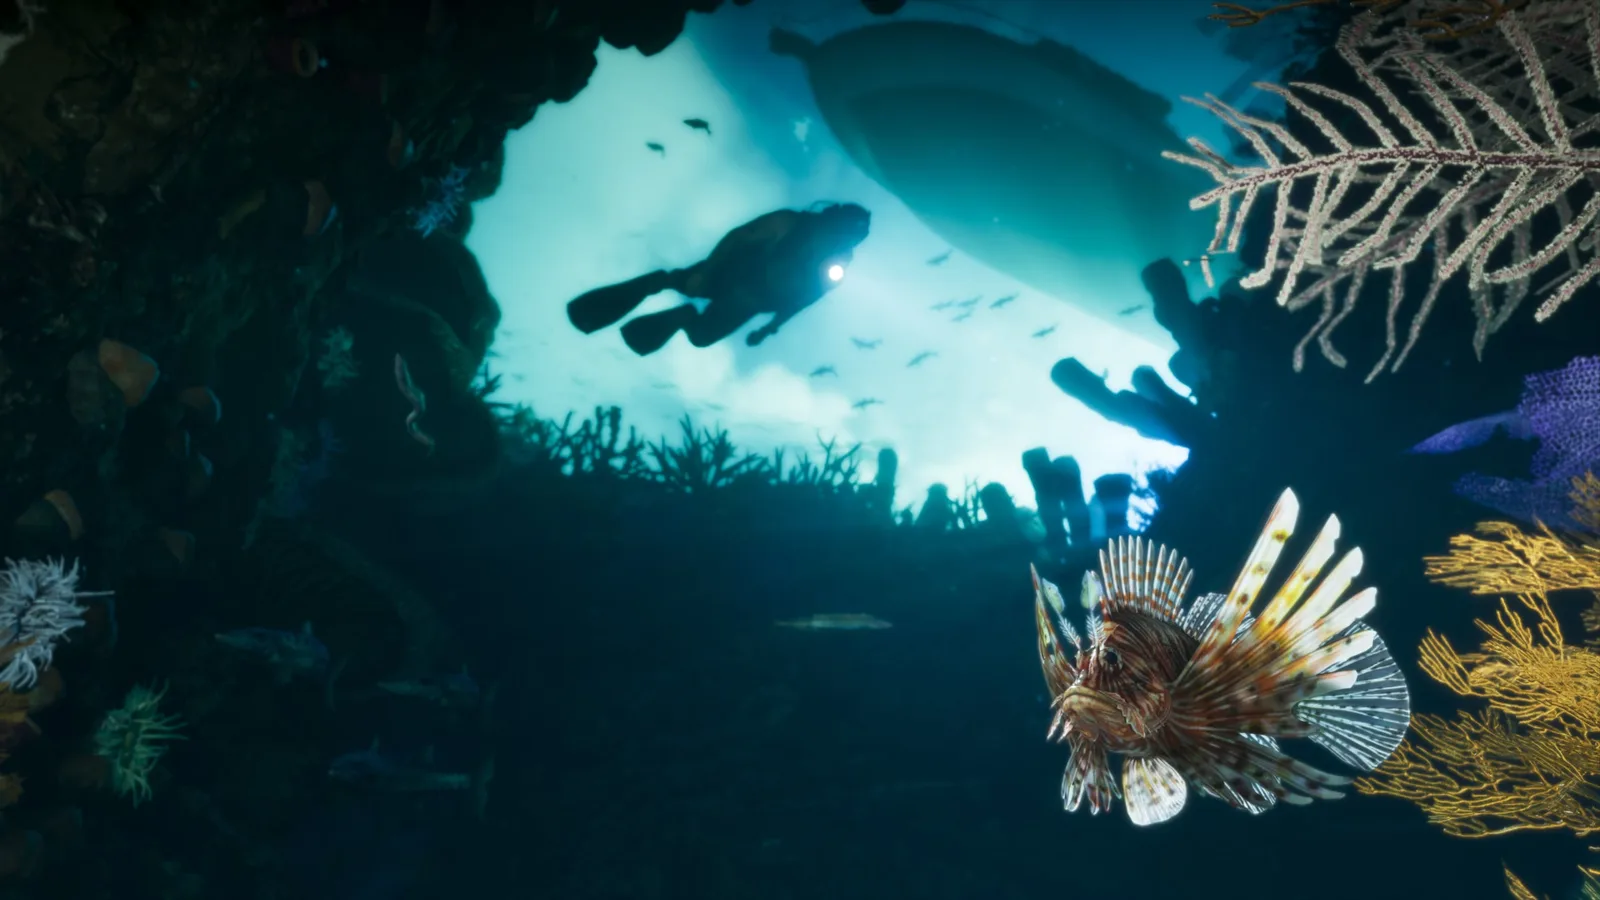 Underwater in the Leonida Keys. Dark scenes like this show whether your black level is right.
If the whole picture feels dim, raise the overall brightness a little. If highlights look flat or gray, raise the highlight setting. If shadows look gray instead of black, lower the black level a little. Then just play. You’ll know it’s right when you stop thinking about it.
Don’t forget your ears
A great picture is only half the experience. Rockstar’s worlds sound as alive as they look, from traffic and radio stations to the city at night, and your audio setup deserves the same attention.
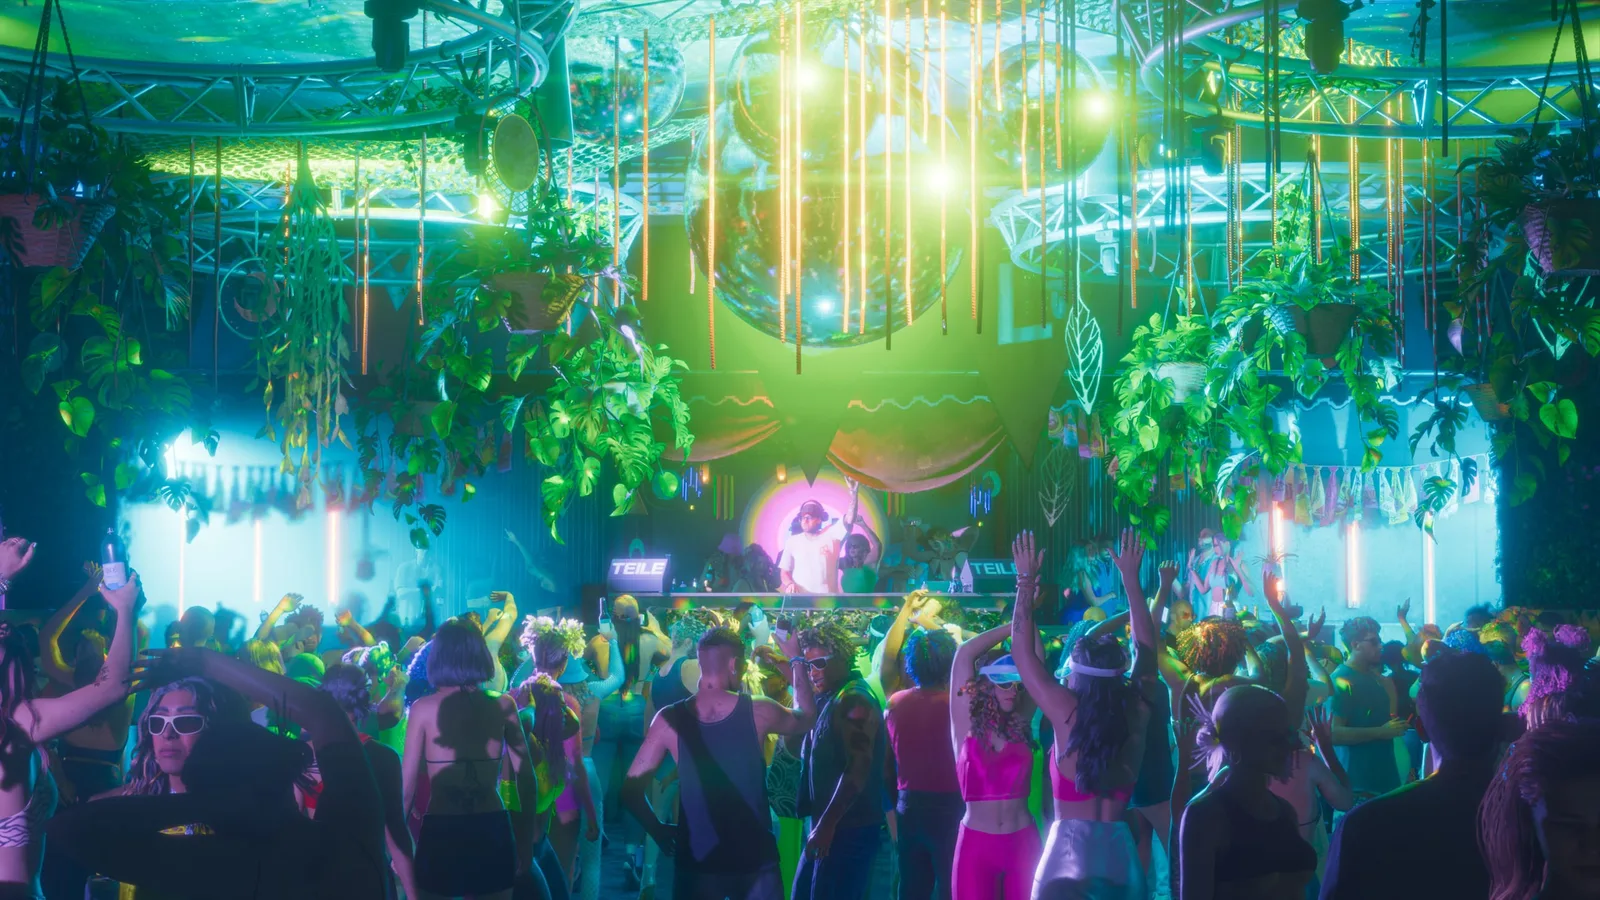 Vice City after dark.
Run the XBOX audio setup. Go to Profile & system → Settings → General → Volume & audio output, and under Advanced, select Audio setup. XBOX Support’s audio troubleshooting page walks through it: the test plays sound through each speaker so you can confirm everything is connected and working.
Turn on spatial sound. Spatial sound lets audio move around and above you, not just left and right. As I wrote on XBOX Wire back in 2017, “Spatial sound is an enhanced audio experience where sounds can flow around, above, and below you.” XBOX has these options:
- Windows Sonic for Headphones – built in and free. Pick it in your headset audio settings.
- Dolby Atmos for Headphones – available through the Dolby Access app on XBOX, which also offers a free trial.
- Dolby Atmos for home theater – if you have an Atmos soundbar or receiver, the Dolby Access app walks you through setup. Dolby’s XBOX page has more on gaming in Atmos.
Using a soundbar or receiver? Make sure its firmware is up to date. XBOX Support’s audio troubleshooting page recommends checking your TV, receiver or soundbar maker’s support documents if you notice audio and video getting out of sync.
When something looks wrong
XBOX Support’s 4K and HDR troubleshooting page covers the basics. Here’s how I’d work through the most common problems:
| What you see | What to try |
|---|---|
| Washed out or gray | Make sure the TV shows it’s in HDR while you play. Check Color space is Standard. Turn on HGIG and run Calibrate HDR for games again. |
| Everything is too dark | Raise the game’s overall brightness. Turn off the TV’s eco or energy-saving mode. |
| No shadow detail | Raise the game’s black level a little. Check Color space is Standard. |
| Highlights are white blobs | Lower the game’s highlight setting. Make sure the TV isn’t also doing its own tone mapping. |
| No HDR, or red marks in 4K TV details | Use the cable that came with your XBOX. Try a different HDMI port. Turn on the TV’s enhanced HDMI signal. Connect directly to the TV to rule out a receiver. |
| Strange colors | XBOX Support suggests unchecking Allow HDR10 to test, and if that’s not it, turning HDR10 back on and unchecking Allow Dolby Vision. |
| Flicker or a blank screen | Turn off variable refresh rate, especially through a receiver. Update the TV and receiver firmware. XBOX Support has a page on fixing a blank TV screen. |
From the archive: 4K and HDR on XBOX One X
In September 2017, ahead of the XBOX One X launch, I sat down with Albert Penello from the XBOX team to talk about the XBOX One X Enhanced program. Albert passed away at the end of last year, and I’m glad this conversation is still around. Most of it is about the program itself, which games carried the label and how to find them, and that part belongs to 2017. But around 1:35, Albert says the game developer is the best person to decide how to use all that power. That’s still the idea behind this post: what the people who make the games intended, and getting it onto your screen.
 Watch the interview (about 6½ minutes) on the XBOX YouTube channel. YouTube asks you to sign in to play it.
That’s really what all of this is about. Rockstar’s artists and engineers did the hard part. A few minutes with your TV and your XBOX makes sure you see what they made, the way they meant it.
If your setup looks great, tell me your TV in the comments, along with anything that made a difference for you. I’d love to see what’s working on different screens.
And one more thing: share your favorite GTA VI screenshot in the comments. A sunset you stopped to look at, a view that made you pause, whatever got you. No spoilers, please, so everyone can browse without fear.
Never captured a screenshot on your XBOX? Here is how.
Resources
XBOX
- How to change the TV display settings on your XBOX – XBOX Support
- Troubleshooting 4K and HDR – XBOX Support
- Troubleshoot audio on your XBOX console – XBOX Support
- Troubleshooting a blank TV screen – XBOX Support
- Is your TV ready for XBOX Series X|S? – XBOX Wire, November 2020
- Dolby Vision gaming now available on XBOX Series X|S – XBOX Wire, September 2021
- Spatial sound with Windows Sonic and Dolby Atmos – XBOX Wire, November 2017
Rockstar Games
- Grand Theft Auto VI – official site
- The launch gallery – official screenshots
- HDR troubleshooting – Rockstar Support
Dolby
- Gaming in Dolby on XBOX – Dolby
- Dolby Access – Microsoft Store
Your TV
- How to use HGIG on LG TVs – LG Support
- Update your LG TV software – LG Support
- Update your Samsung TV software – Samsung Support
- Sony Electronics Support – Sony
- Check for software updates on your TCL TV – TCL Support
- Hisense firmware downloads – Hisense